# Getting Startedbeta
We will now take a tour of the UI along with buillding a new template from scratch to get a better idea of the editor's general workflow.
Testing is only carried out on the latest versions of chrome (opens new window) and edge (opens new window), therefore these are the recomended browsers
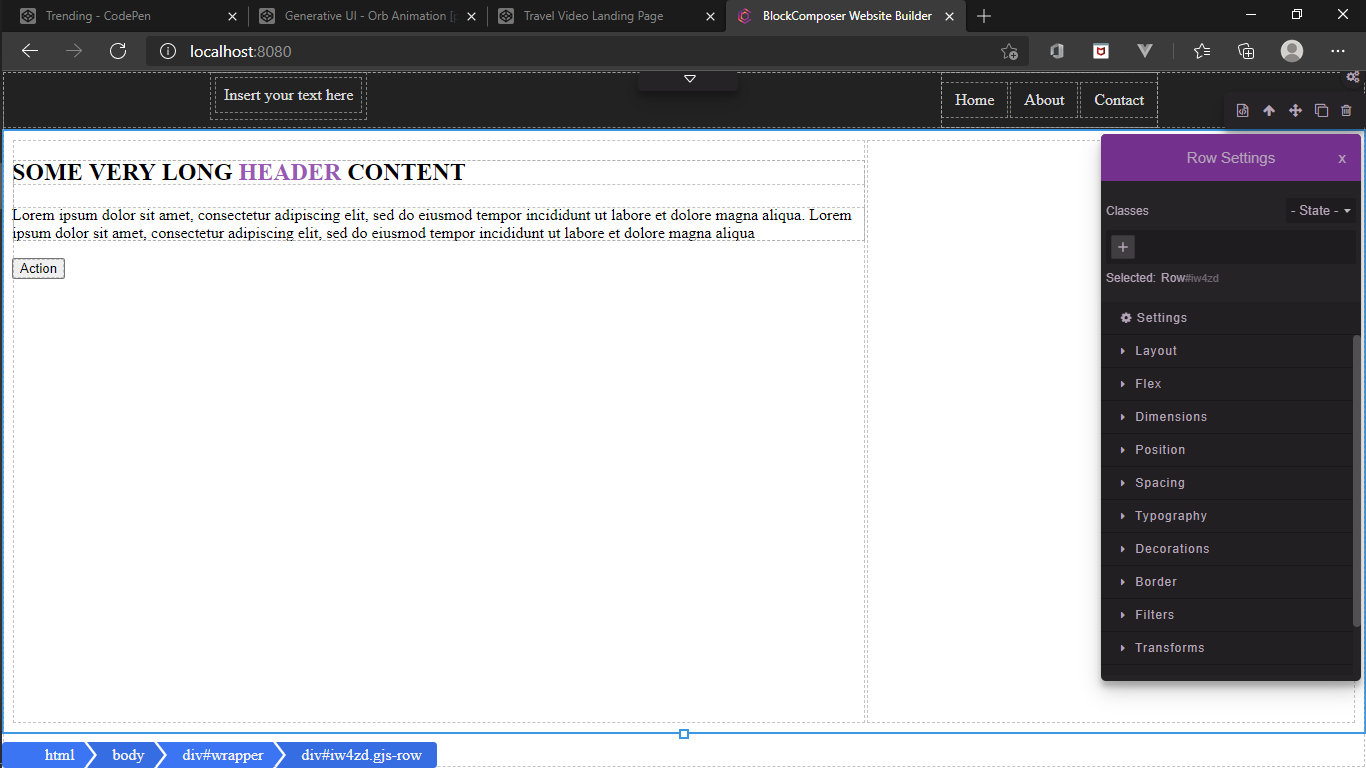
# The UI
The current UI may be a bit different from the one shown in this tutorial.
When you open the editor it will open a blank Default page.
The `Default` page is meant to be a placeholder so it's best to avoid using it for important templates.
![]()
Editor main sections:
Canvas- What more can be said about the canvas, it is the largest and most important section and it is were your website comes together.Main Topbar- This section houses the logo and some action buttons namely:help- Info and help about the editortoggle gridlines- show/hide editor gridlinescanvas clear- clear everything from the canvasview code- view and/or export codeundo- undo last actionredo- redo last undopreview- show preview of the templateimport- import html and css templatesave- save and generate thumbnail
Device Topbar- Switch between devices to change canvas size for responsive design. Just above this section is a button for showing and hiding all sectionsLeft Sidebar- This is were you'll find theBlock Managerfor Dragging & Dropping blocks,Layersfor managing the site structure,Pages,AssetsandSettingsfor site wide settingsRight Sidebar- Mainly for template management related actions, such as deletion, converting page to reusable template, viewing all pages and templates and finally toggling rulers anddesigner mode
# Creating a new page
Click the folder icon on the Right Sidebar, to open the following modal:
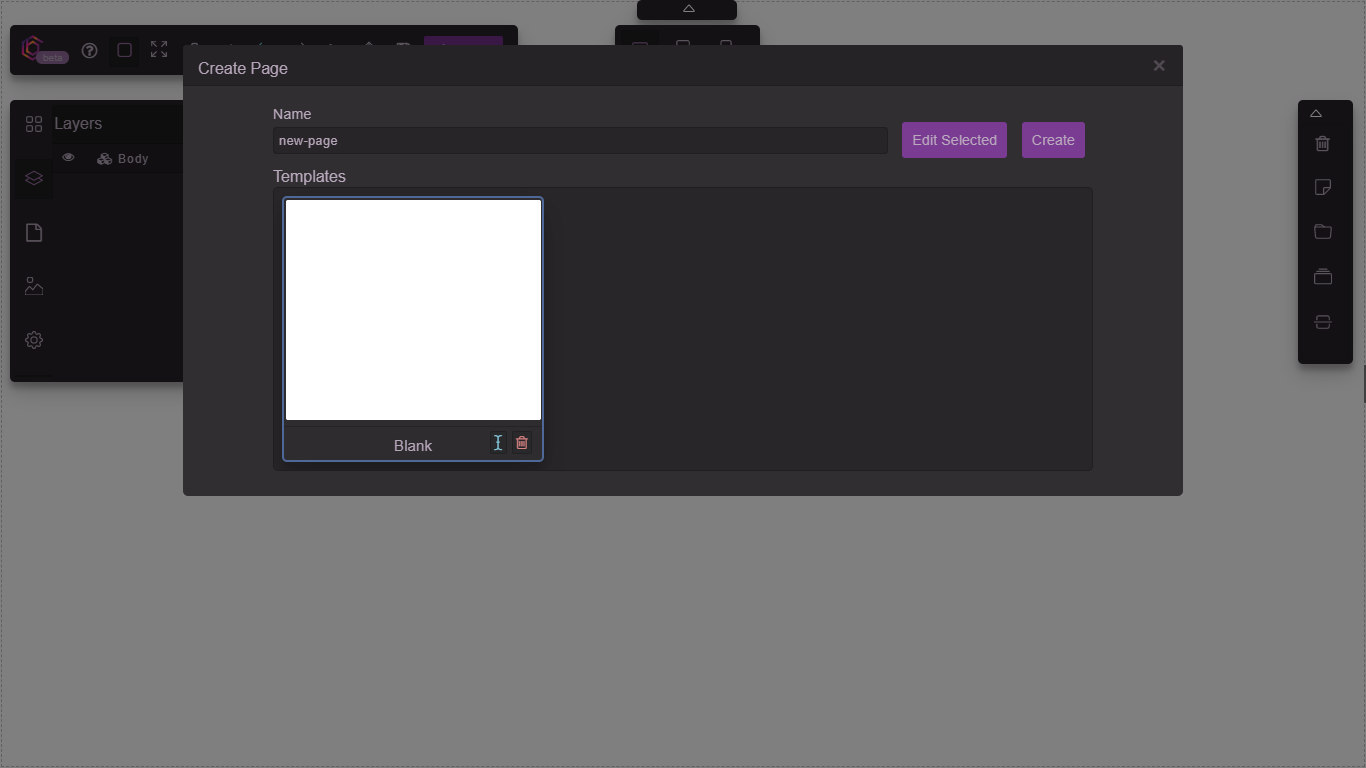
Enter page name, select a template then hit the Create button. Done!!!
# Adding blocks

Blocks can be added by Dragging then from the Block Manager and dropping them onto the canvas.
# Customization(StyleManager)the MVP
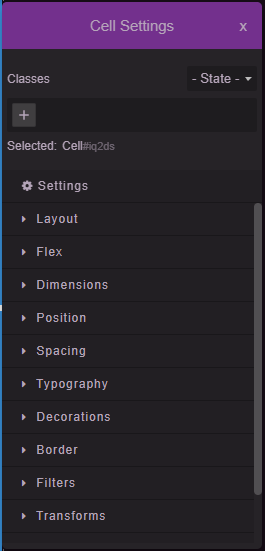
The Style Manager will popup whenever you click a component on the canvas, this will allow you to edit the available style properties for that component. This almost limitless customizations allows you to come up with any site design you can dream of.
# Building a simple website
Now let's try to use the editor to build a simple landing page.
# Basic blocks
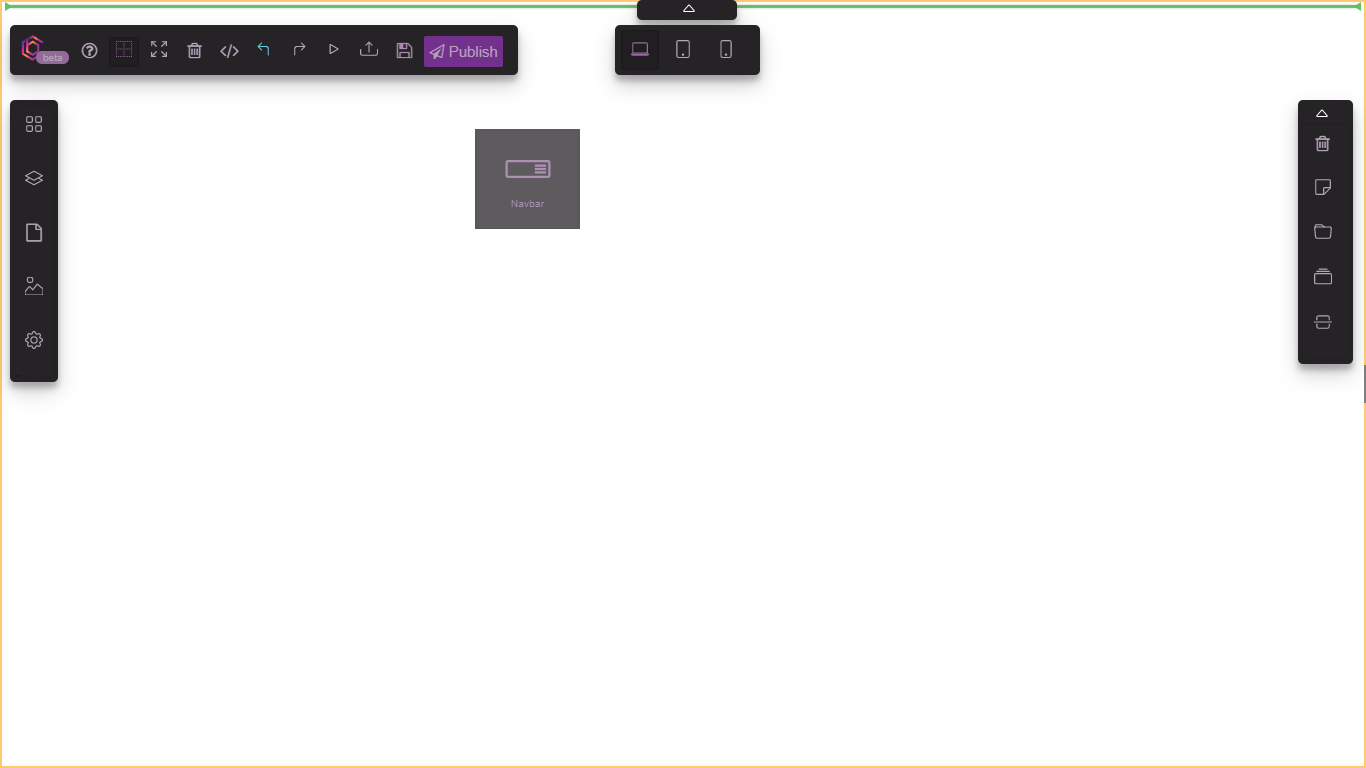
Go to the Extra section under the Block Manager and drag the Navbar block onto the canvas:
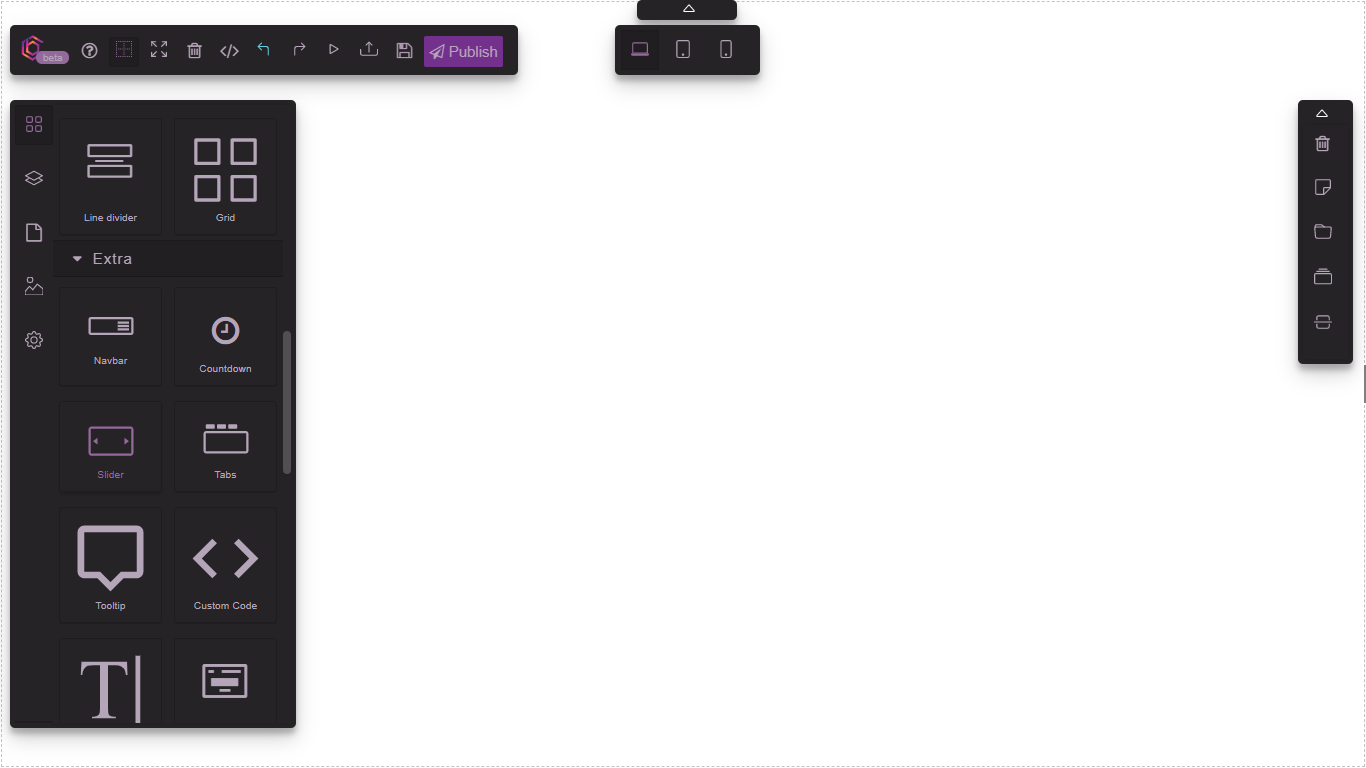
You can also filter blocks by name
2 Columns | Text section | Button |
|---|---|---|
 |  |  |
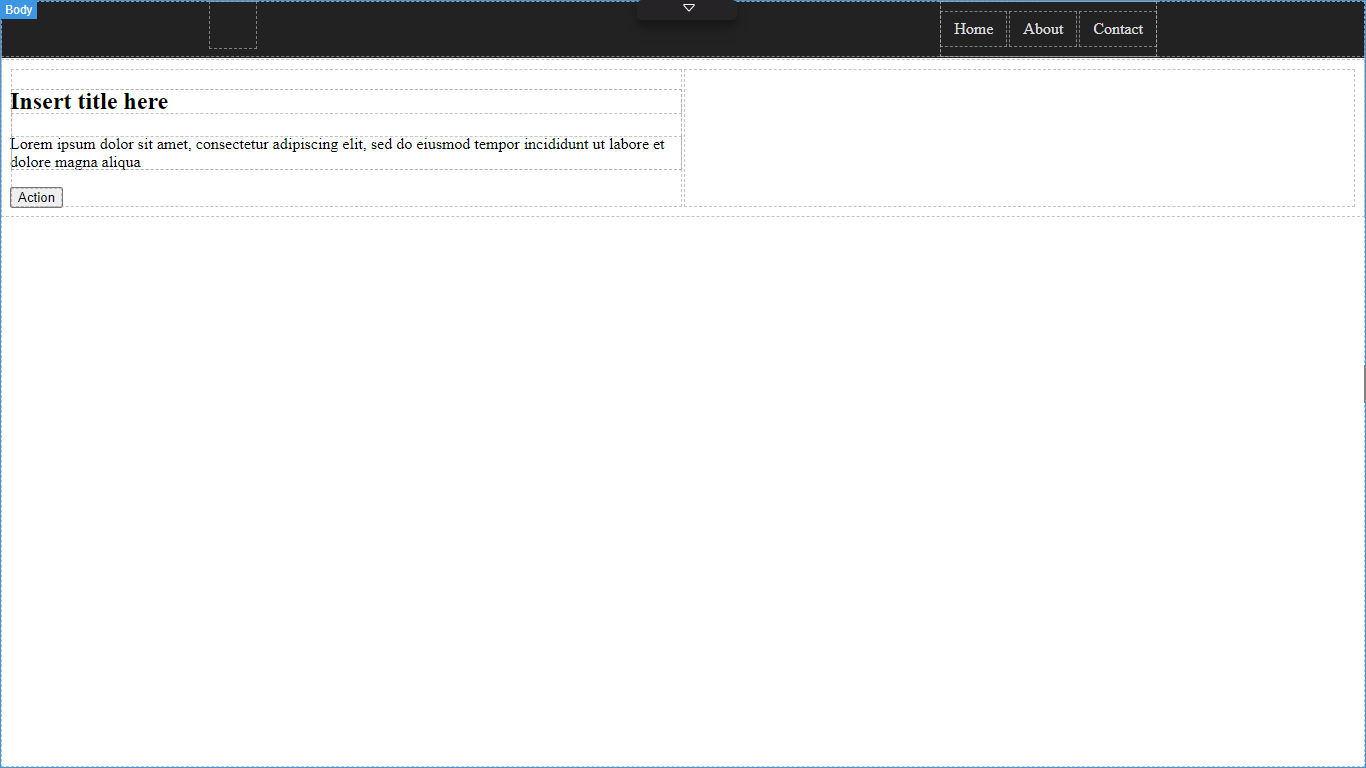
- Drag and drop the
2 Columnsblock from theBasicsection just after theNavbarblock. - Inside the first column drag & drop the
Text sectionthen theButtonblock from theBasicsection, by now you should have the following results:
# Layout
This can be more precise when selecting components that are obstructed.
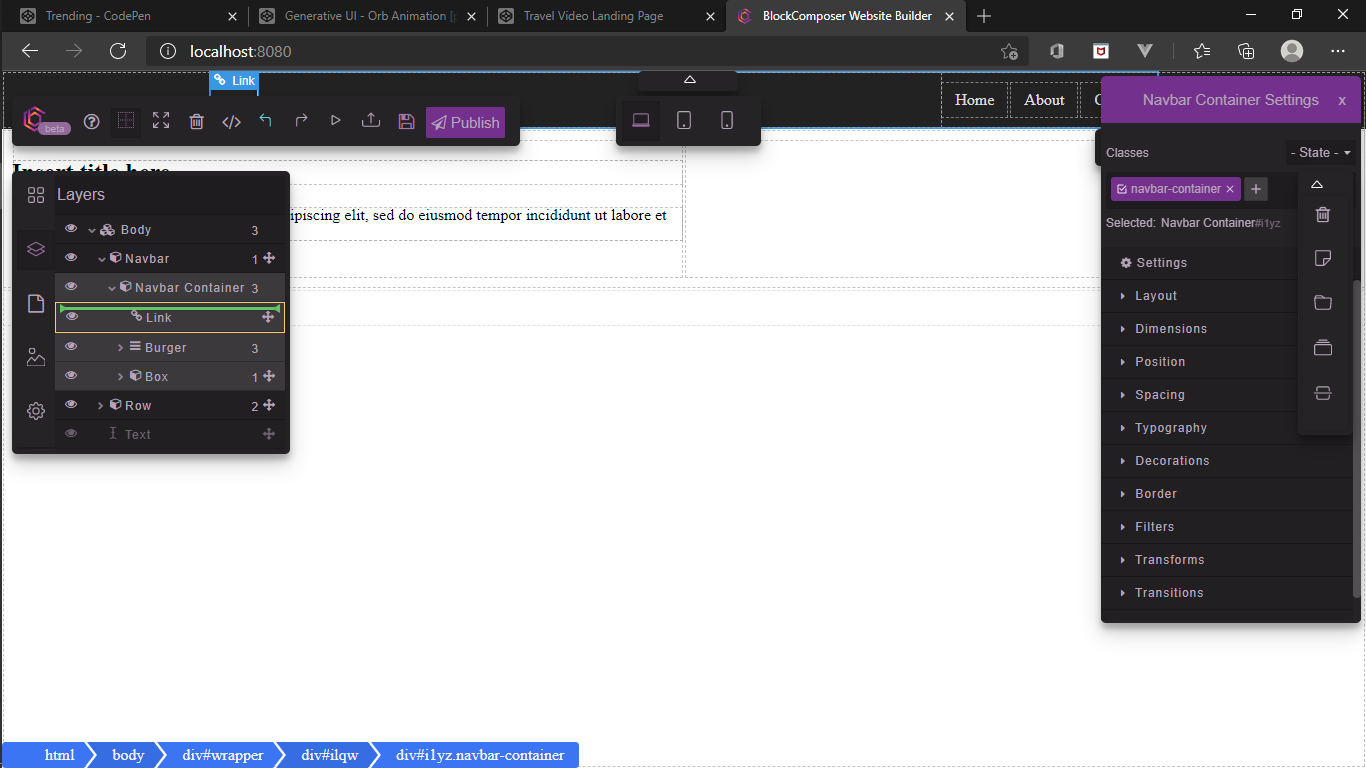
Drag the Text block into the Link in the Navbar, you can drop the Text block anywhere then drag it into the Link from the Layer Manager:
# Rich text editor
You can hide all panels to make it easier to edit in the canvas.
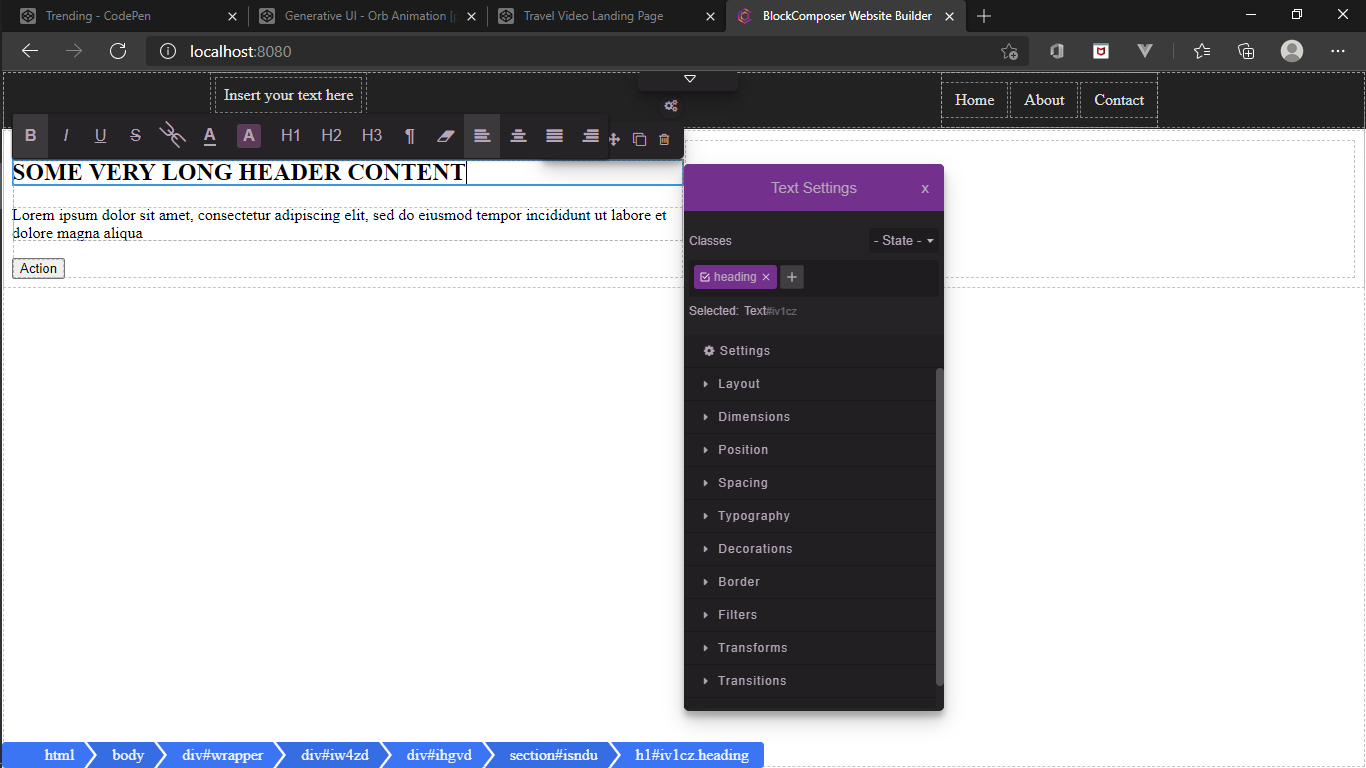
Double clicking on any text element will open the rich text editor, you can use this to make some general modifications to the text element.
Edit text to SOME VERY LONG HEADER CONTENT:
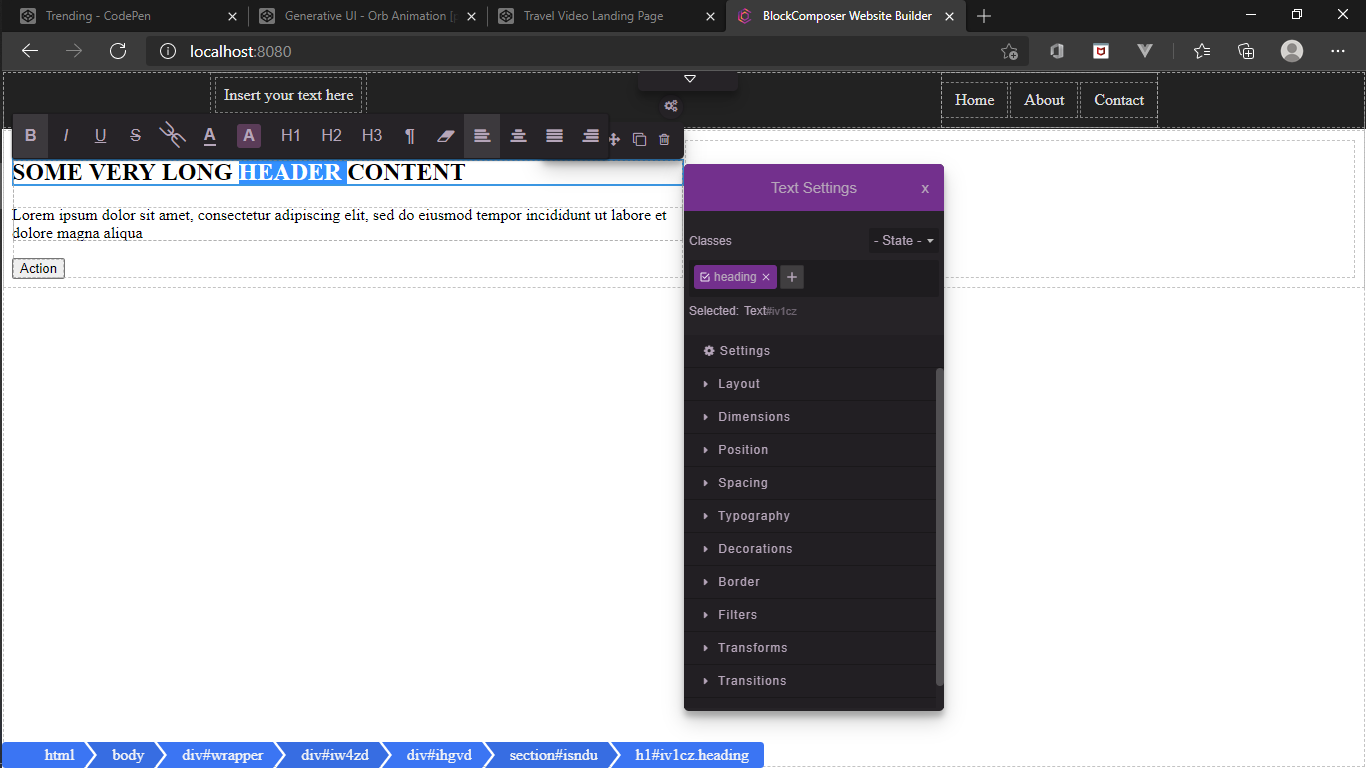
Highlight HEADER:
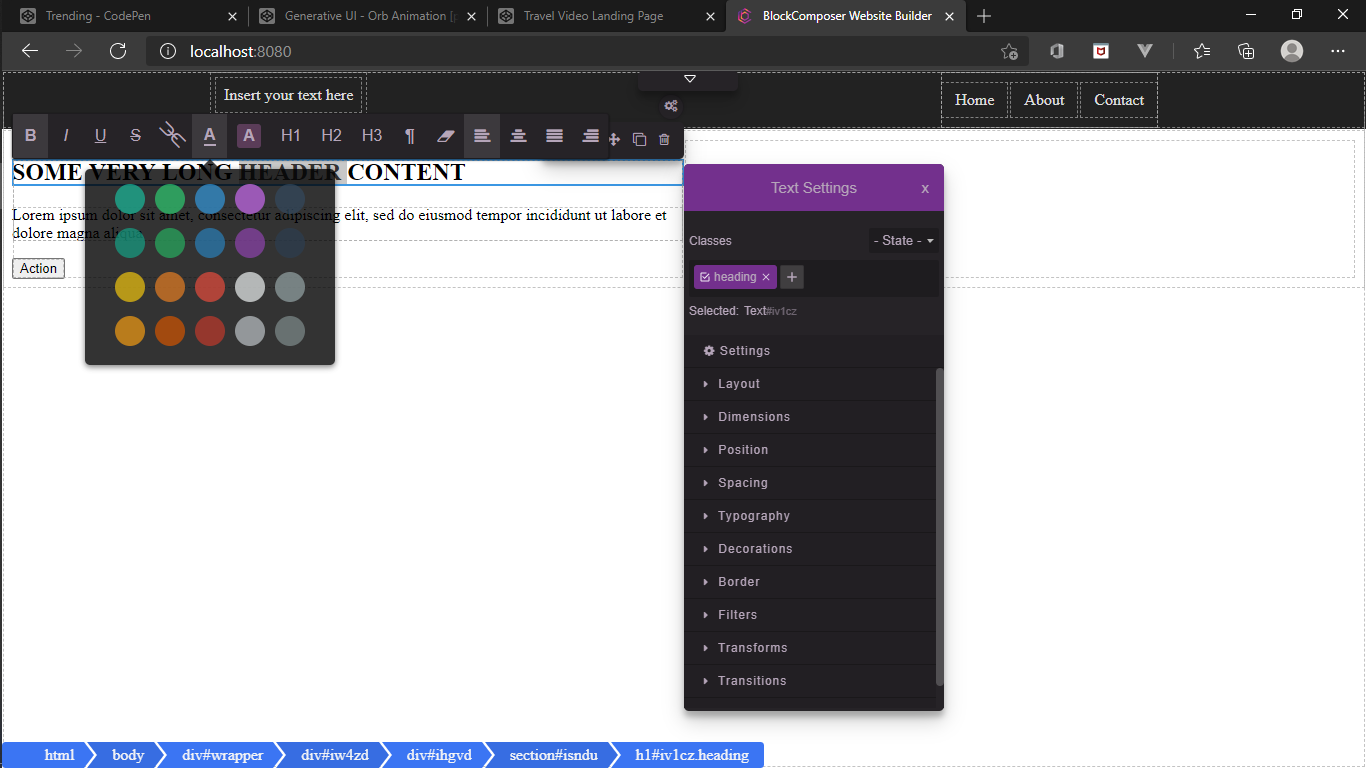
Change color:
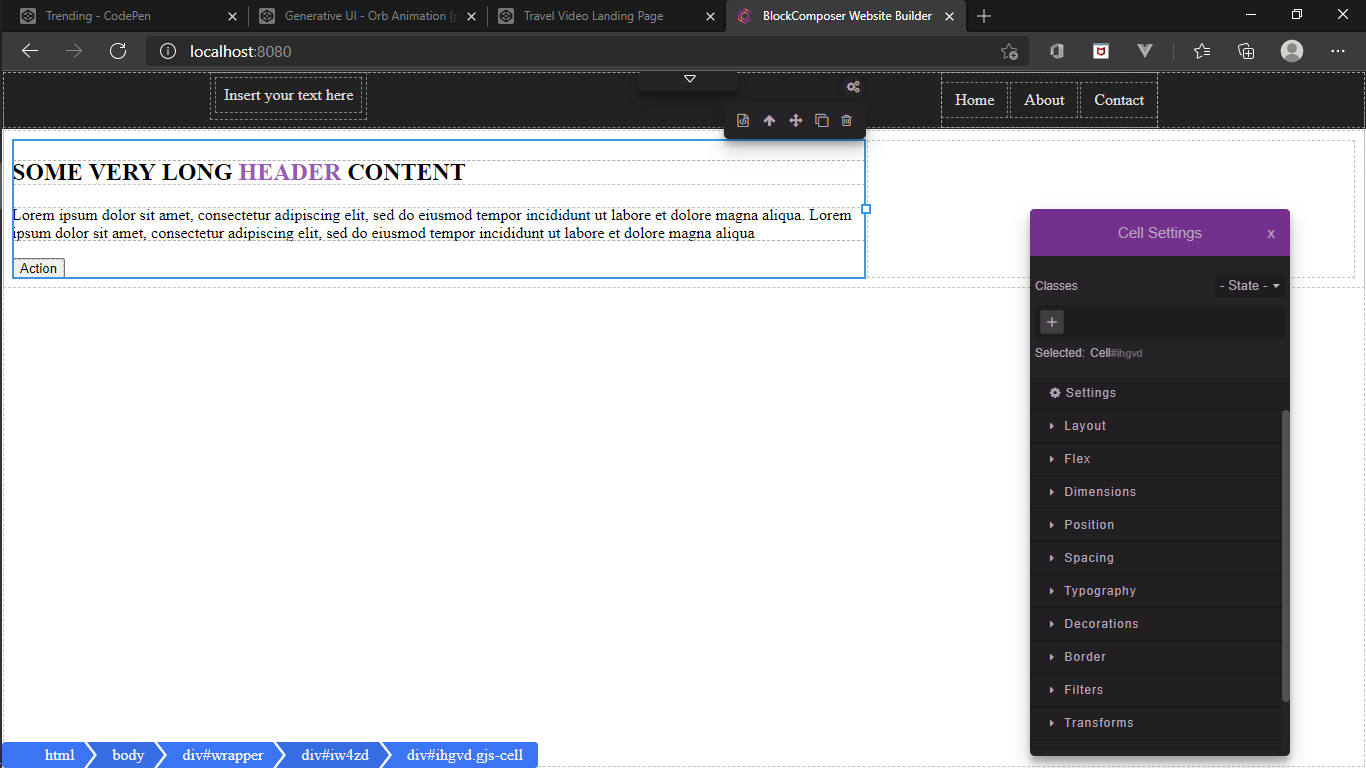
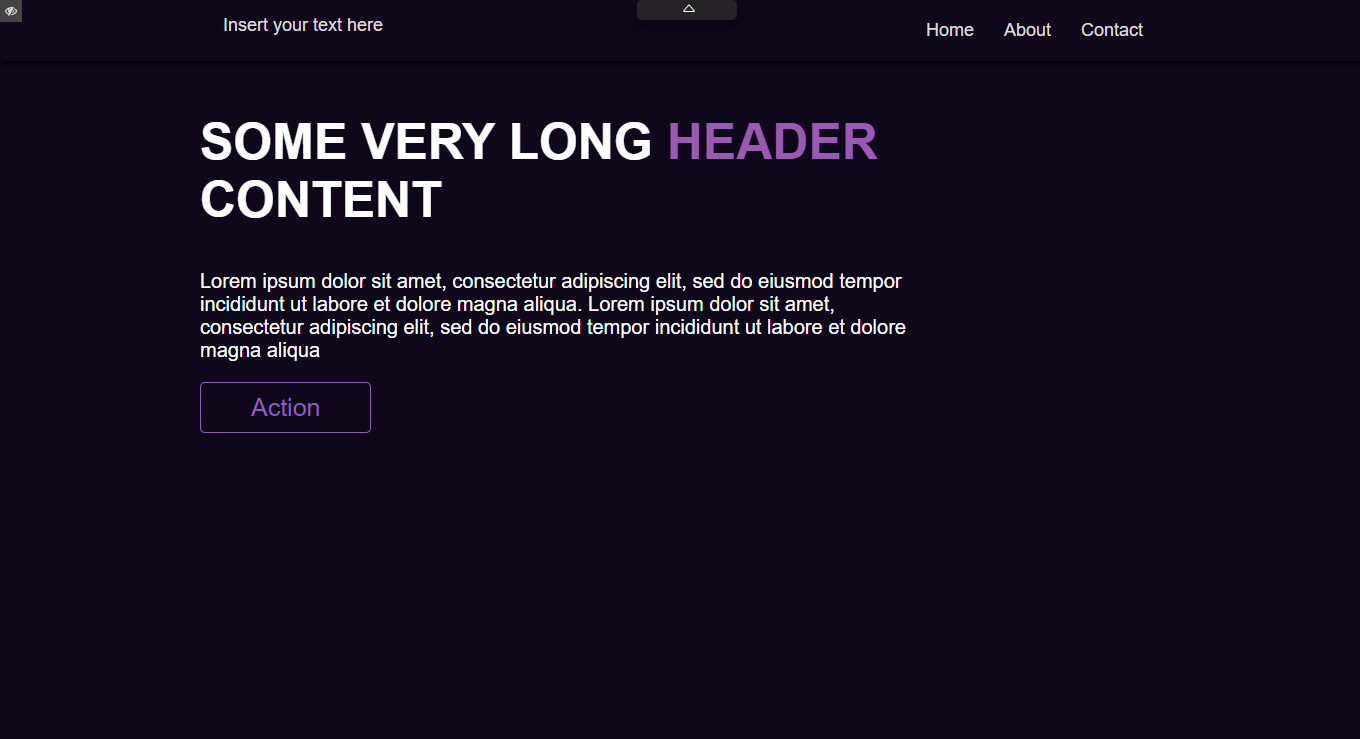
Final results:

# Styling
The `Style Manager` can be dragged freely to any position on the canvas.
Some elements are resizable directly from the canvas, try making the first Cell cover 2/3 of the Row:
then extending the Row to full height:
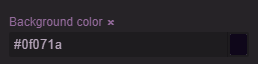
Select the Body component and add the following styles:
DecorationsBackground color-#0f071a
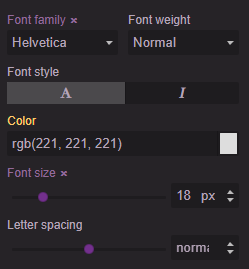
Select the Navbar component and set the following styles:
TypographyFont family-HelveticaFont size-18px
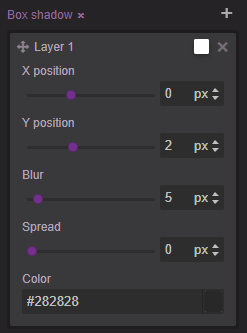
DecorationsBackground color-transparentBox shadow-0 2px 5px 0 black
Select the Row component and set the following styles:
TypographyFont family-HelveticaColor-white
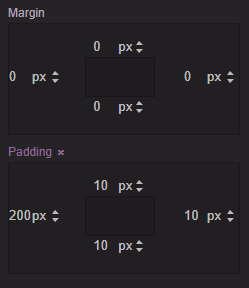
SpacingPadding-10px 10px 10px 200px
Select the header component and set the following styles:
TypographyFont size-50px
Select the paragraph component and set the following styles:
TypographyFont size-20px
Select the Button and set the following styles:
SpacingPadding-10px 50px 10px 50px
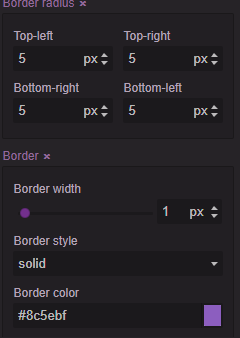
TypographyFont size-25pxColor-#8c5ebf
BorderBorder radius-5px 5px 5px 5pxBorder-1px solid #8c5ebf
DecorationsBackground color-transparentCursor-pointer

With the button still selected set state to Hover, then set the following styles:
TypographyLetter spacing-2px
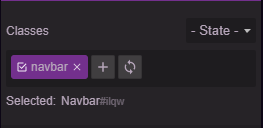
Syncing styles:
This process can help clean up the code a bit.
# Uploding images
During the beta all images/assets will be deleted periodically.
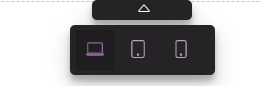
# Responsive design
Cycle through the devices and adjust styles:
| Component | Tablet | Mobile |
|---|---|---|
Row | padding: 10px 10px 10px 200px | padding: 10px 10px 10px 10px |
Header | | font-size: 45px |
Final result:
| Desktop | Mobile |
|---|---|
 | 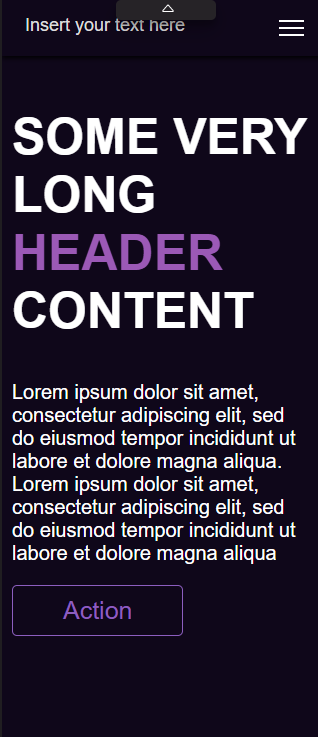 |
# Adding scripts
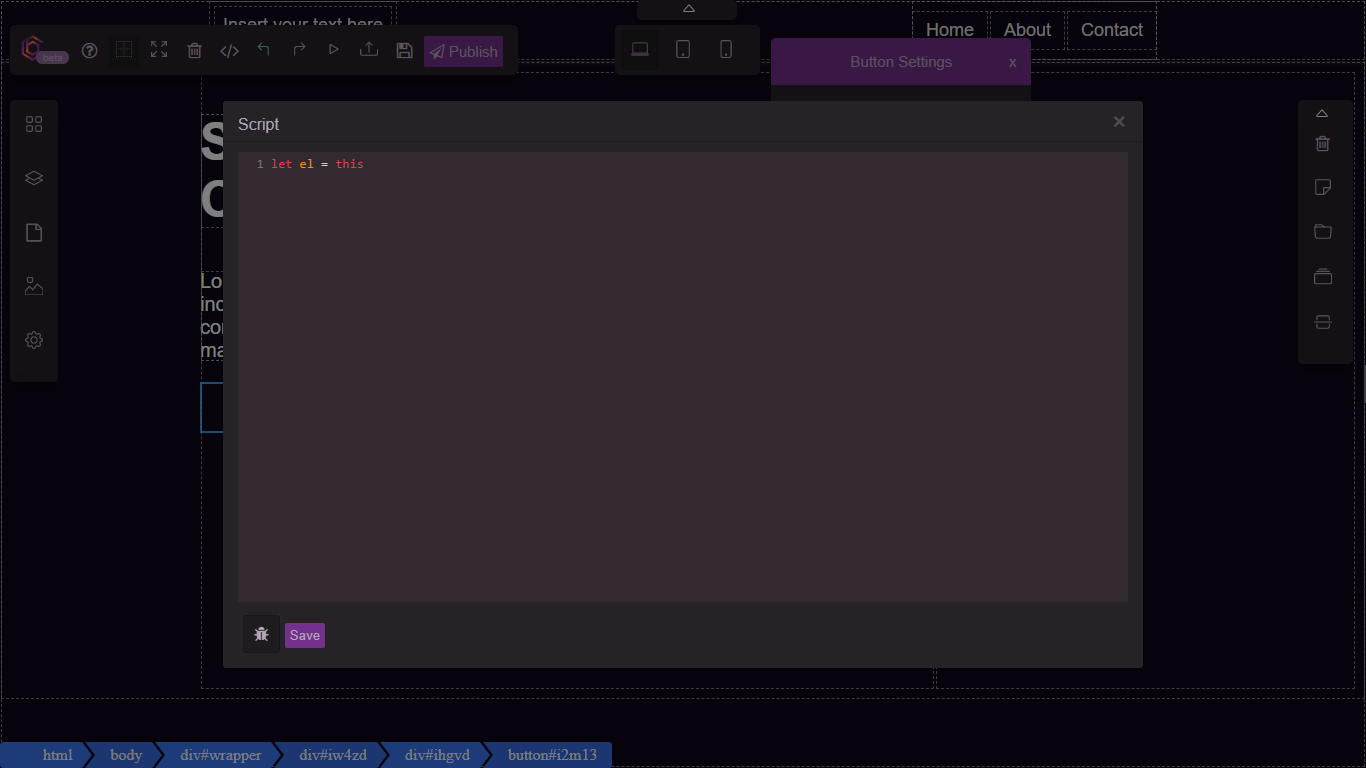
Scripts can add a bit more functionality to your site. You can attach scripts to components by using the  icon:
icon:
Script editing modal
Some examples of what script usage are:
- adding events to a component:
const el = this;
this.addEventListener('click', function() {
    console.log('clicked')
});
- Import external library:
const initLib = function() {
    const el = this;
    const myLibOpts = {
      prop1: props.myprop1,
      prop2: props.myprop2,
    };
    someExtLib(el, myLibOpts);
};

if (typeof someExtLib == 'undefined') {
  const script = document.createElement('script');
  script.onload = initLib;
  script.src = 'https://.../somelib.min.js';
  document.body.appendChild(script);
} else {
  initLib();
}
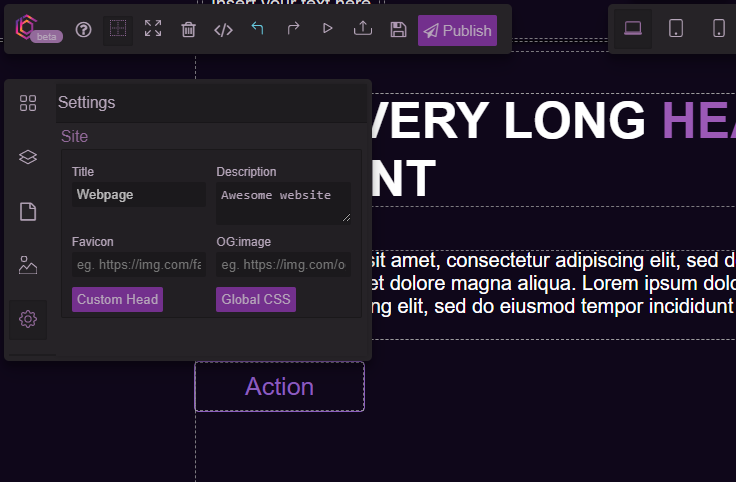
# Settings
Add site wide settings such as title and description
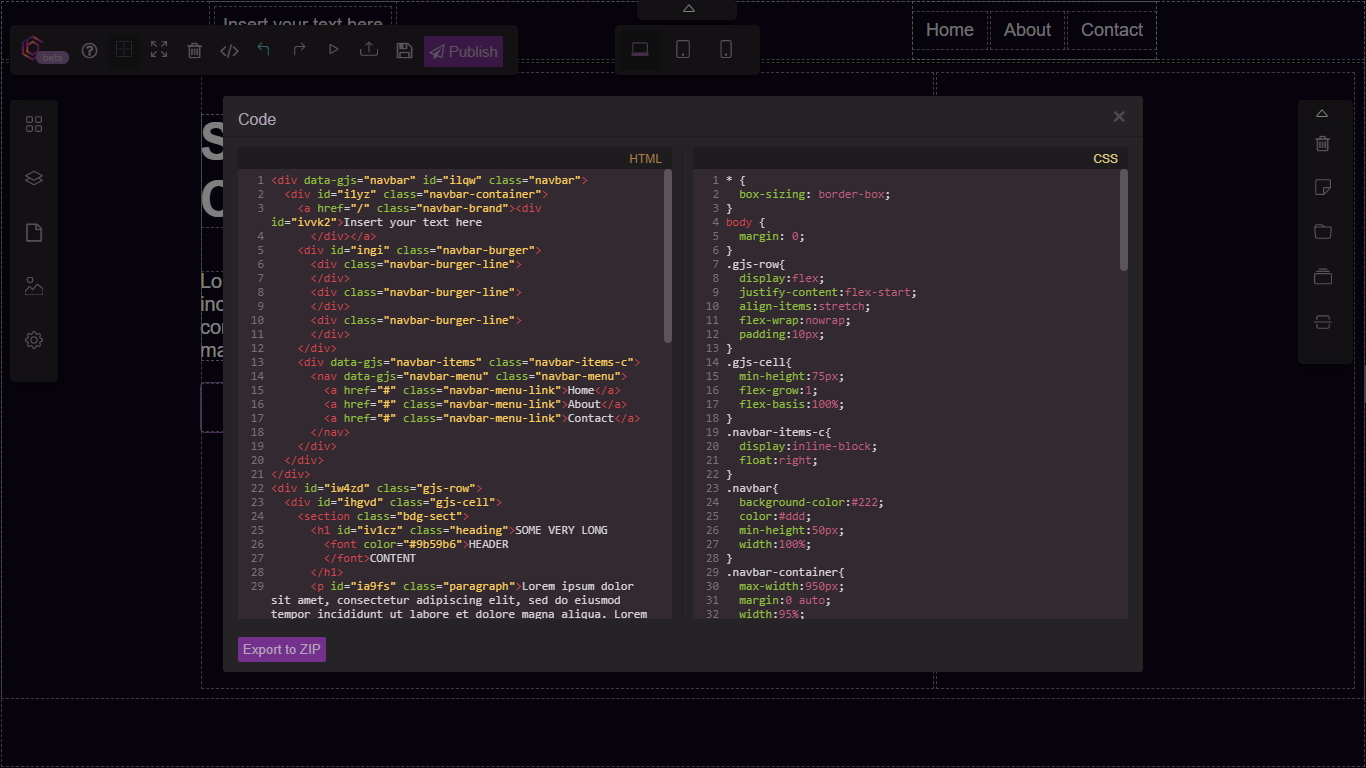
# Exporting Code
Export the project as a .zip file
That's all for now 🚀. You can also link to your netlify account and deploy you sites directly to netlify.